Using geth to attach to a RSK local node
RSK’s virtual machine implementation is compatible with the Ethereum virtual machine (EVM), which enables us to make use of many Ethereum developer tools.
In this tutorial I will show you step-by-step how to use the Ethereum client Geth to attach to an RSK local node (which is called regtest) and run a few JSON-RPC commands. We do this to establish that the local node is running.
Overview
We will do these steps:
- Install the requirements: Java SDK, RSK local node and Geth;
- Do a Geth attach;
- Check if the node is running;
- Know some useful functions;
- Learn how to interact with accounts: list, create;
- Transfer funds between accounts.
Webinar
Check out the webinar version of this tutorial:
The same webinar is also available in Español and Português.
Also check out our other webinars.
Requirements
- Java JDK
- RSK local node
- Geth
Installing Java JDK
First check if you already have Java installed:
java -version
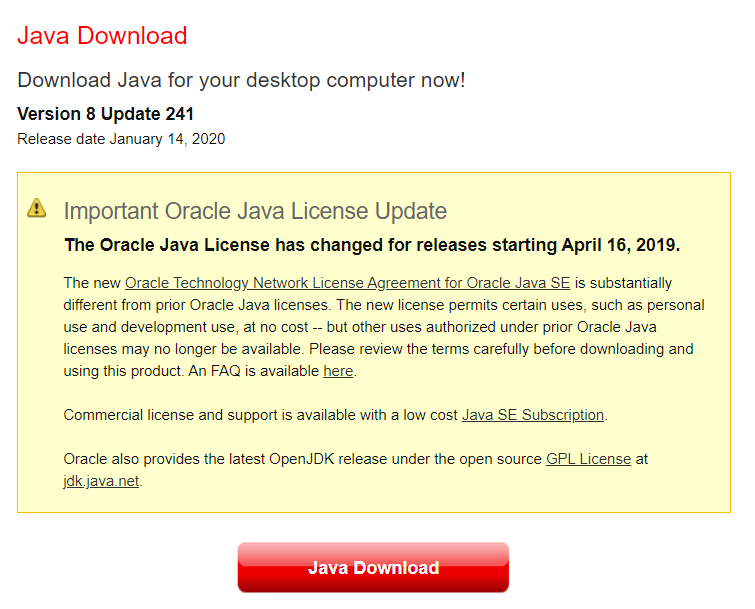
Go to Java Download if you need to install it:
For Linux and Mac users:
You could install Java using shell commands via SDKman:
curl -s "https://get.sdkman.io" | bash
source "$HOME/.sdkman/bin/sdkman-init.sh"
sdk list java  | grep "8\." to get a filtered list of available java versions
sdk install java 8.0.242.j9-adpt
sdk install java 11.0.6.j9-adpt
sdk use java 8.0.242.j9-adpt
java -version
Installing RSK local Node
There are several different ways to set up a RSK node. Here we will download and run a JAR file, and run it using the Java SDK that has been installed.
Download
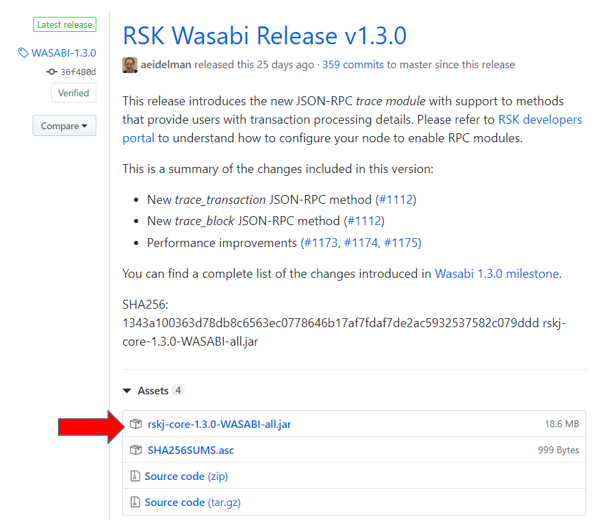
Go to the releases page and click on the most recent to download it.
You need to click on the link for the JAR file, at the bottom of the post about the latest release.
It’s name should be rskj-core-*.jar:
Alternatively, you could download and run the file from bash using the commands below:
cd ~/code/rsk
mkdir rskj-node
cd rskj-node
curl \
  -L \
  https://github.com/rsksmart/rskj/releases/download/PAPYRUS-2.0.1/rskj-core-2.0.1-PAPYRUS-all.jar \
  > ./rskj-core-2.0.1-PAPYRUS-all.jar
curl \
  -L \
  https://github.com/rsksmart/rskj/releases/download/PAPYRUS-2.0.1/SHA256SUMS.asc \
  > ./rskj-core-2.0.1-PAPYRUS-all.SHA256SUMS.asc
shasum rskj-core-2.0.1-PAPYRUS-all.jar
grep "rskj-core" rskj-core-2.0.1-PAPYRUS-all.SHA256SUMS.asc
The curl commands download a binary which is the RSKj executable, as well as a plain text file containing the checksum for the JAR file. The subsequent shasum (or sha256sum depending on your *NIX variety), and grep are used to verify that the checksum recorded as part of the release process does indeed match the computed checksum of the file that was downloaded.
Note that verifying the checksum is not the only form of verification of the RSKj binary. There are more detailed instructions available on how to do this.
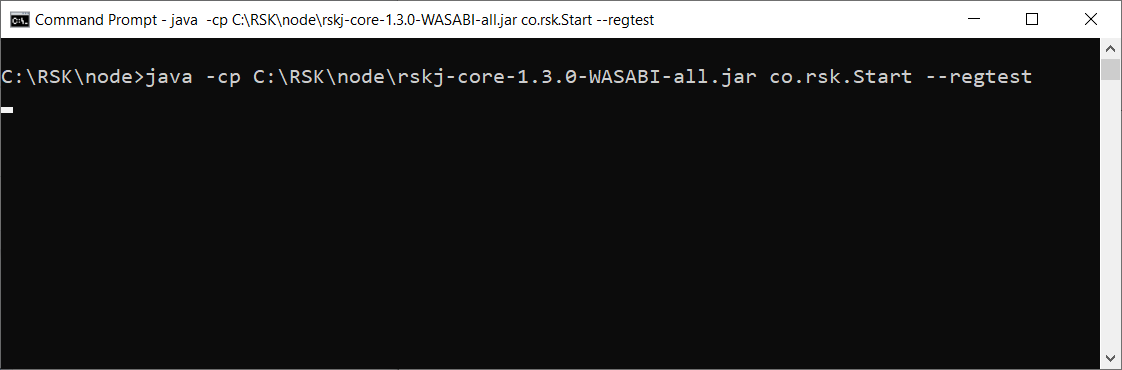
Run RSKj
To run the node:
java -cp <PATH-TO-THE-RSKJ-JAR> co.rsk.Start --regtest
(Replace
For Linux and Mac users run
pwdon current working directory on bash, to locate the full path.
I am using a Windows OS and I saved the file at C:\RSK\node,
so for me the full path is C:\RSK\node\rskj-core-2.0.1-PAPYRUS-all.jar.
The commands required to run the RSK node are:
On Windows
java -cp C:\RSK\node\rskj-core-2.0.1-PAPYRUS-all.jar co.rsk.Start --regtest
On Linux and Mac
java -cp C:/RSK/node/rskj-core-2.0.1-PAPYRUS-all.jar co.rsk.Start --regtest
If you do not have any output after running the command, this usually means that the node is running successfully. We will confirm this in the next step.
Important:
Do not close this terminal window. If closed, the RSK node running here will stop.
Check if the node is running using cURL
Open a new terminal window.
Issue a request to the node’s RPC HTTP server. This is an example using cURL:
curl localhost:4444/1.1.0/ -X POST -H "Content-Type: application/json" --data '{"jsonrpc":"2.0","method":"eth_blockNumber","params":[],"id":1}'
The response should look similar to:
{"jsonrpc":"2.0","id":1,"result":"0xfc0"}
The result property is the number of the latest block that has been synced. Note that this value is in hexadecimal, so the output above indicates that the current block number is 4032.
To get more information about this process: Setup RSKj with Java
If you encounter any problems, check if your system meets the minimum requirements.
There are other ways to install a RSK node, in other supported platforms: Installing RSKj
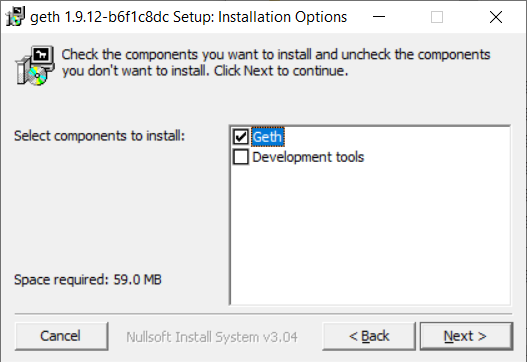
Installing Geth
Do the installation with all default options.
You do not need to install Developer tools.
Alternatively, on MacOS and Linux, enter the commands below on bash to install geth:
mkdir -p ~/code/ethereum/geth-node
cd ~/code/ethereum/geth-node
curl \
  -L \
  https://gethstore.blob.core.windows.net/builds/geth-alltools-darwin-amd64-1.9.12-b6f1c8dc.tar.gz
  > geth-alltools-darwin-amd64-1.9.12-b6f1c8dc.tar.gz

tar -xf geth-alltools-darwin-amd64-1.9.12-b6f1c8dc.tar.gz

cd geth-alltools-darwin-amd64-1.9.12-b6f1c8dc

ls -l

./geth version
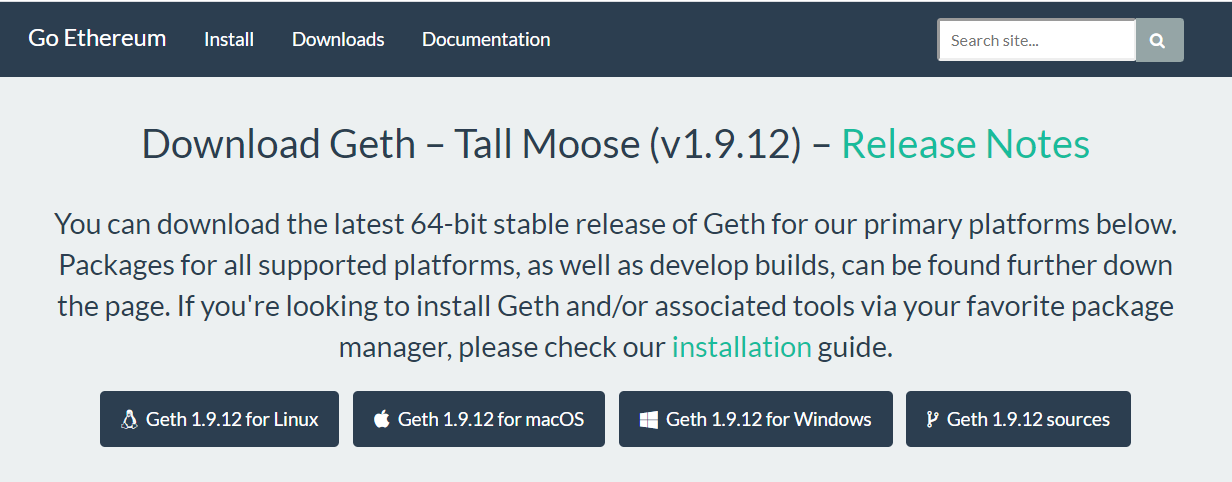
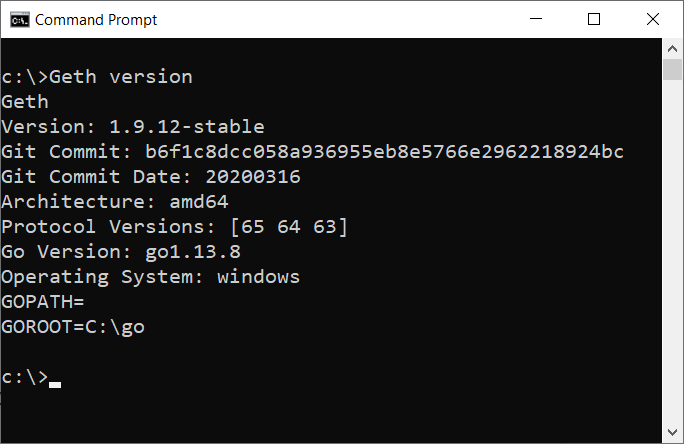
This tutorial was made using version 1.9.12, I recommend using this version.
In the terminal, run this command to check the version, if it runs and returns a version, this means geth was installed successfully:
geth version
In this link, you have more information about how to install Geth: https://geth.ethereum.org/docs/install-and-build/installing-geth
Geth attach
This procedure is only for a node running in your machine or in a network that you have access to. Geth attach gives you full control of the remote instance, so do not expect someone else to give you such access to their machine.
geth attach http://127.0.0.1:4444
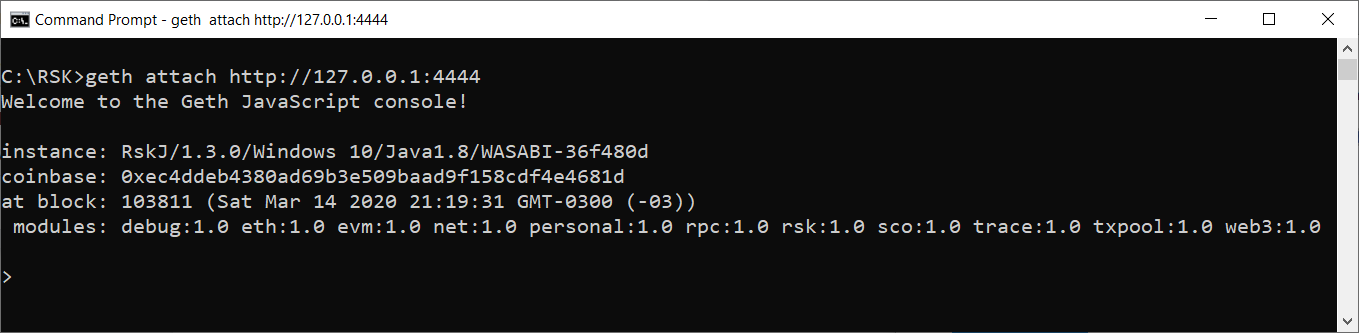
We are running geth to attach (connect) to RSK local node. The address http://127.0.0.1 connects to your own computer (localhost). The local node has the HTTP-RPC server enabled and listening at port 4444, and this is what we connect to.
Supported RPC methods
There is a list with all RPC methods enabled on RSK nodes here: RSK JSON-RPC
For more information about RPC methods, check the Ethereum website, but remember that not all of them are implemented on RSK nodes:
Check if the node is running
Check block number
eth.blockNumber
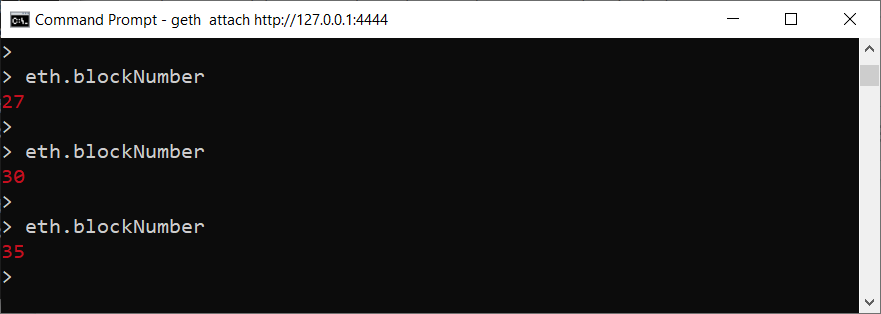
Every time you run it, you will get a higher number, because the node is mining blocks.
Tips and tricks
Copy and Paste in Windows terminals
In the Geth console, to paste something which you copied from another place, you need to use:
- Right Button
- Right Arrow
Do not press the keys at the same time, but rather in sequence: First Right Button, then Right Arrow.
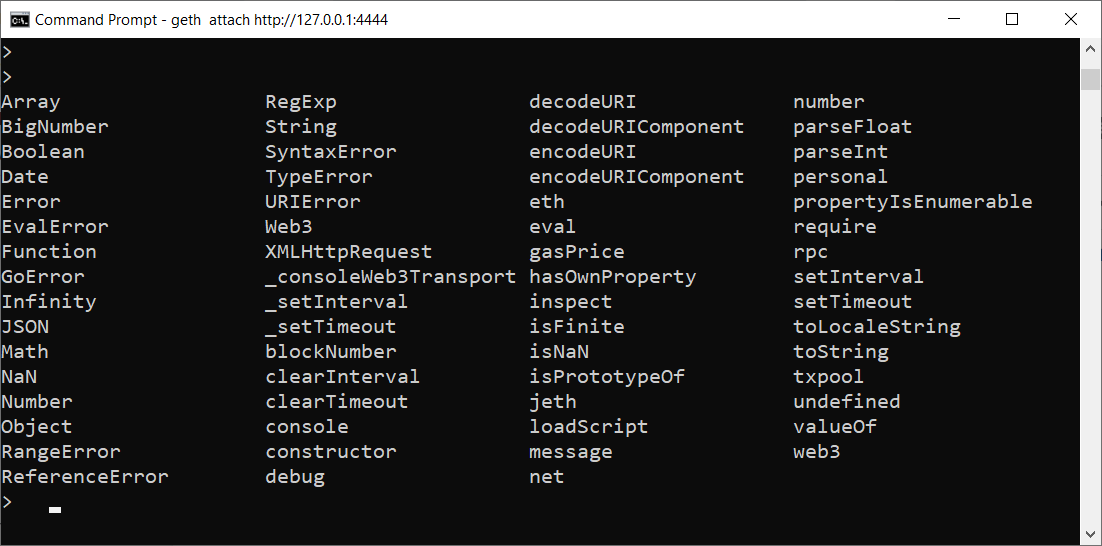
List commands
A small trick to see the list of initial commands. Type 2 spaces then hit TAB twice. You will get:
Useful functions
I will show some RPC methods which are useful for understanding how things work.
Useful eth functions
eth.blockNumber
Shows the last block number
eth.getBlockNumber

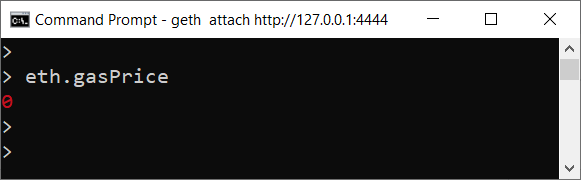
gasPrice
On a local node, we expect the gas price to be 0.
eth.gasPrice
Useful net functions
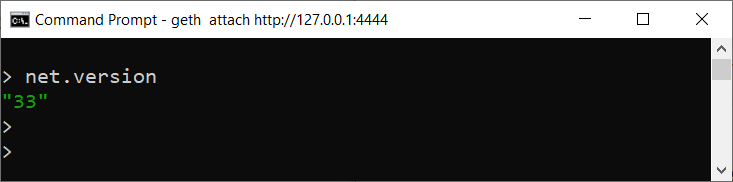
net.version
net.version
This is the network ID.
net.peerCount
net.peerCount

You are alone on this network.
Accounts
Personal
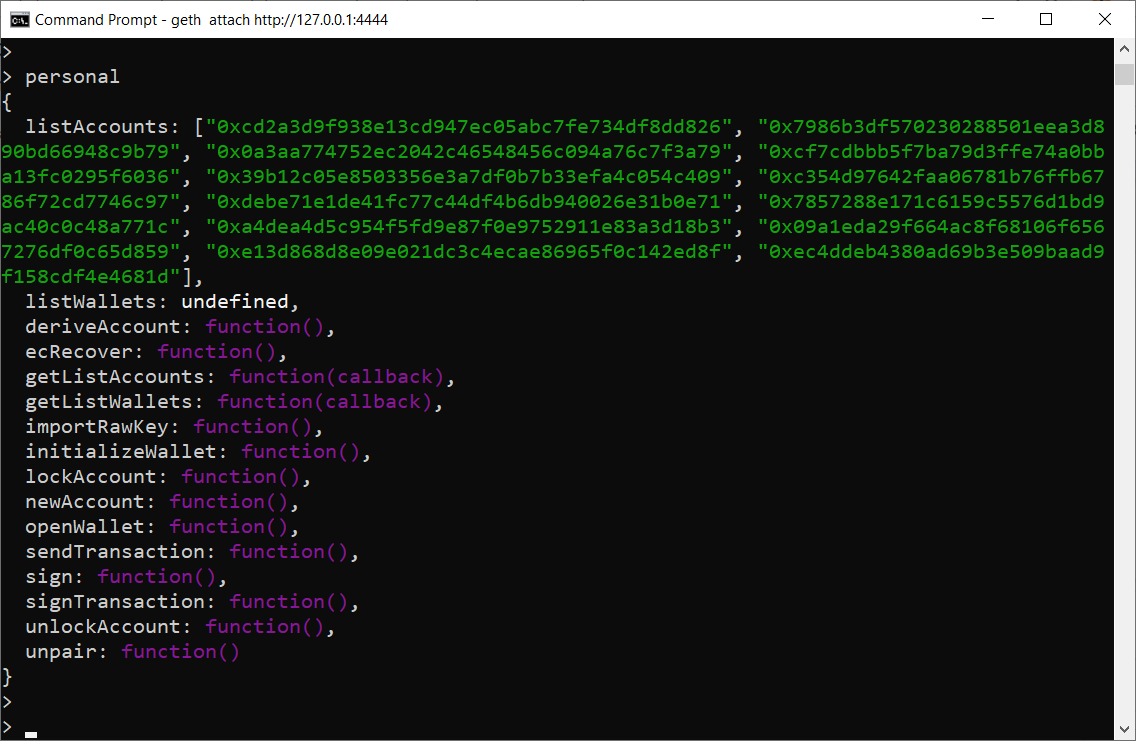
List all things related to accounts in your local node.
personal
RSK is pre-configured with some accounts:
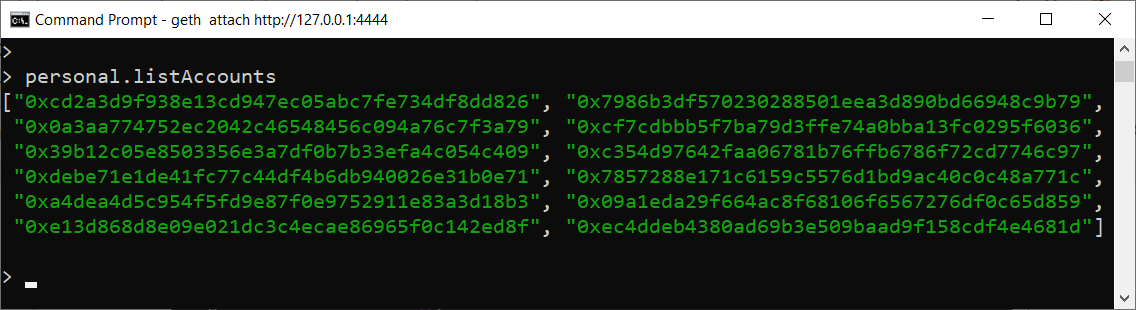
List Accounts
You can only list the accounts:
personal.listAccounts
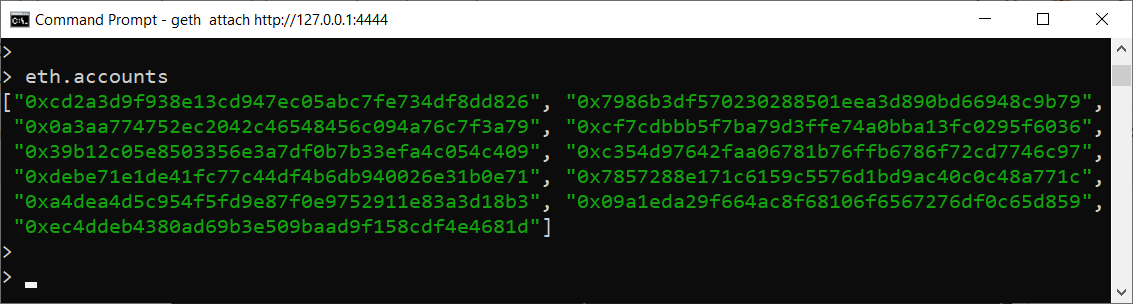
There are other commands which do the same thing:
eth.accounts
Create account
Also it is possible to create new accounts:
personal.newAccount("mypasswd")
You need to save or remember the password as it is used to encrypt your private key on disk.
In the example, the password is "mypasswd".
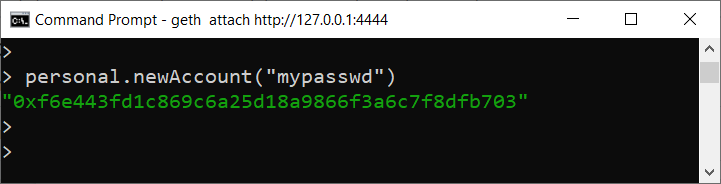
My new account is
0xf6e443fd1c869c6a25d18a9866f3a6c7f8dfb703
Balances
To retrieve the balance of an account, per example, account[1]:
eth.getBalance(eth.accounts[1])
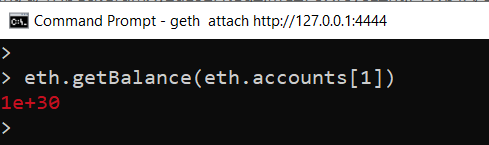
We get a big number because the result is denominated in wei. We can convert to Ether:
web3.fromWei(eth.getBalance(eth.accounts[1]),"ether")
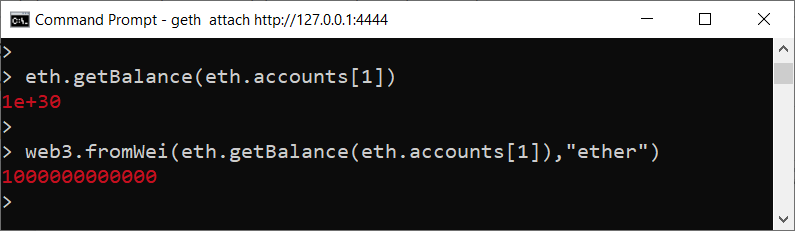
On a local node, the pre-configured accounts are funded with a lot of “money”! On the RSK network, this is called R-BTC. So I have 1.000.000.000.000 = One trillion of R-BTC!
Balance of a specific account
I would like to check the account (0xf6e443fd1c869c6a25d18a9866f3a6c7f8dfb703) that I created before:
web3.fromWei(eth.getBalance("0xf6e443fd1c869c6a25d18a9866f3a6c7f8dfb703"),"ether")

I do not have any funds in my account, so the next step is to transfer some R-BTC to it.
Transfer R-BTC
I have one trillion R-BTC in account 1 and nothing on the new account. I’d like to transfer 300 billion R-BTC from account 1 to the new account:
eth.sendTransaction({from:eth.accounts[1], to:"0xf6e443fd1c869c6a25d18a9866f3a6c7f8dfb703", value: web3.toWei(300000000000, "ether")})

Perfect! I got a transaction hash. This means that my transaction was sent to Blockchain and it will be included in a block in a few seconds.
Now I will check the balance of account 1 and the new account:
web3.fromWei(eth.getBalance(eth.accounts[1]),"ether")

web3.fromWei(eth.getBalance("0xf6e443fd1c869c6a25d18a9866f3a6c7f8dfb703"),"ether")
And the result is:
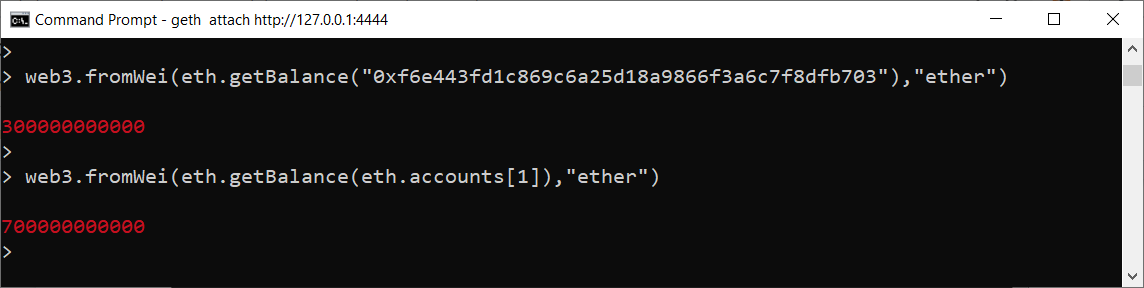
Great! The new account has 300 billion R-BTC and account 1 has 700 billion R-BTC.
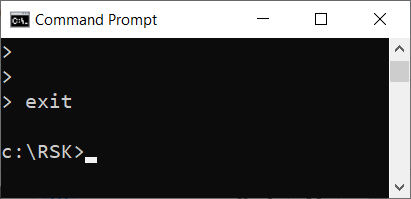
Geth exit
To exit the geth console:
exit
Final considerations
Hope it was easy for you to use Geth, an Ethereum client, to interact with an RSK local node.
We can do more things using Geth, such as deploy a smart contract at RSK local node using Geth and Remix.
Our goal is to join forces and give options to people who believe in smart contracts based on Ethereum, and also believe in the power of Bitcoin, through RSK.
I hope this tutorial has been helpful and I’d appreciate your feedback. Share it if you like it :)