- Quick Start
- Webinars
- The Stack
- RSK Blockchain
-
RSK Infrastructure Framework
- RSK Infrastructure Framework
- RIF Token
-
Name Service
- Name Service
- Specs
-
Operations
- Operations
- Register an .rsk domain
- Resolve a domain's address
- Change resolver
- Set address resolution
- Set Bitcoin address resolution
- Renew a domain
- Transfer a domain
- Register a subdomain
- Change subdomain's owner
- Expose the name of your address
- Find the name of an address
- Migrate a domain from auction registration
- Architecture
- Tools
- Libs
- Integrate
- Mainnet
- Testnet
- Payments
- Storage
-
Develop
- Tutorials
- Integrate
- Wallet
- Libs
- Tools
- Engage
- Roadmap
- Contribute
- Grants
- DeFi for Bitcoin
Windows
Here you have the steps to compile and run an RSK node on Windows.
This page is organized in this way:
Compiling the node
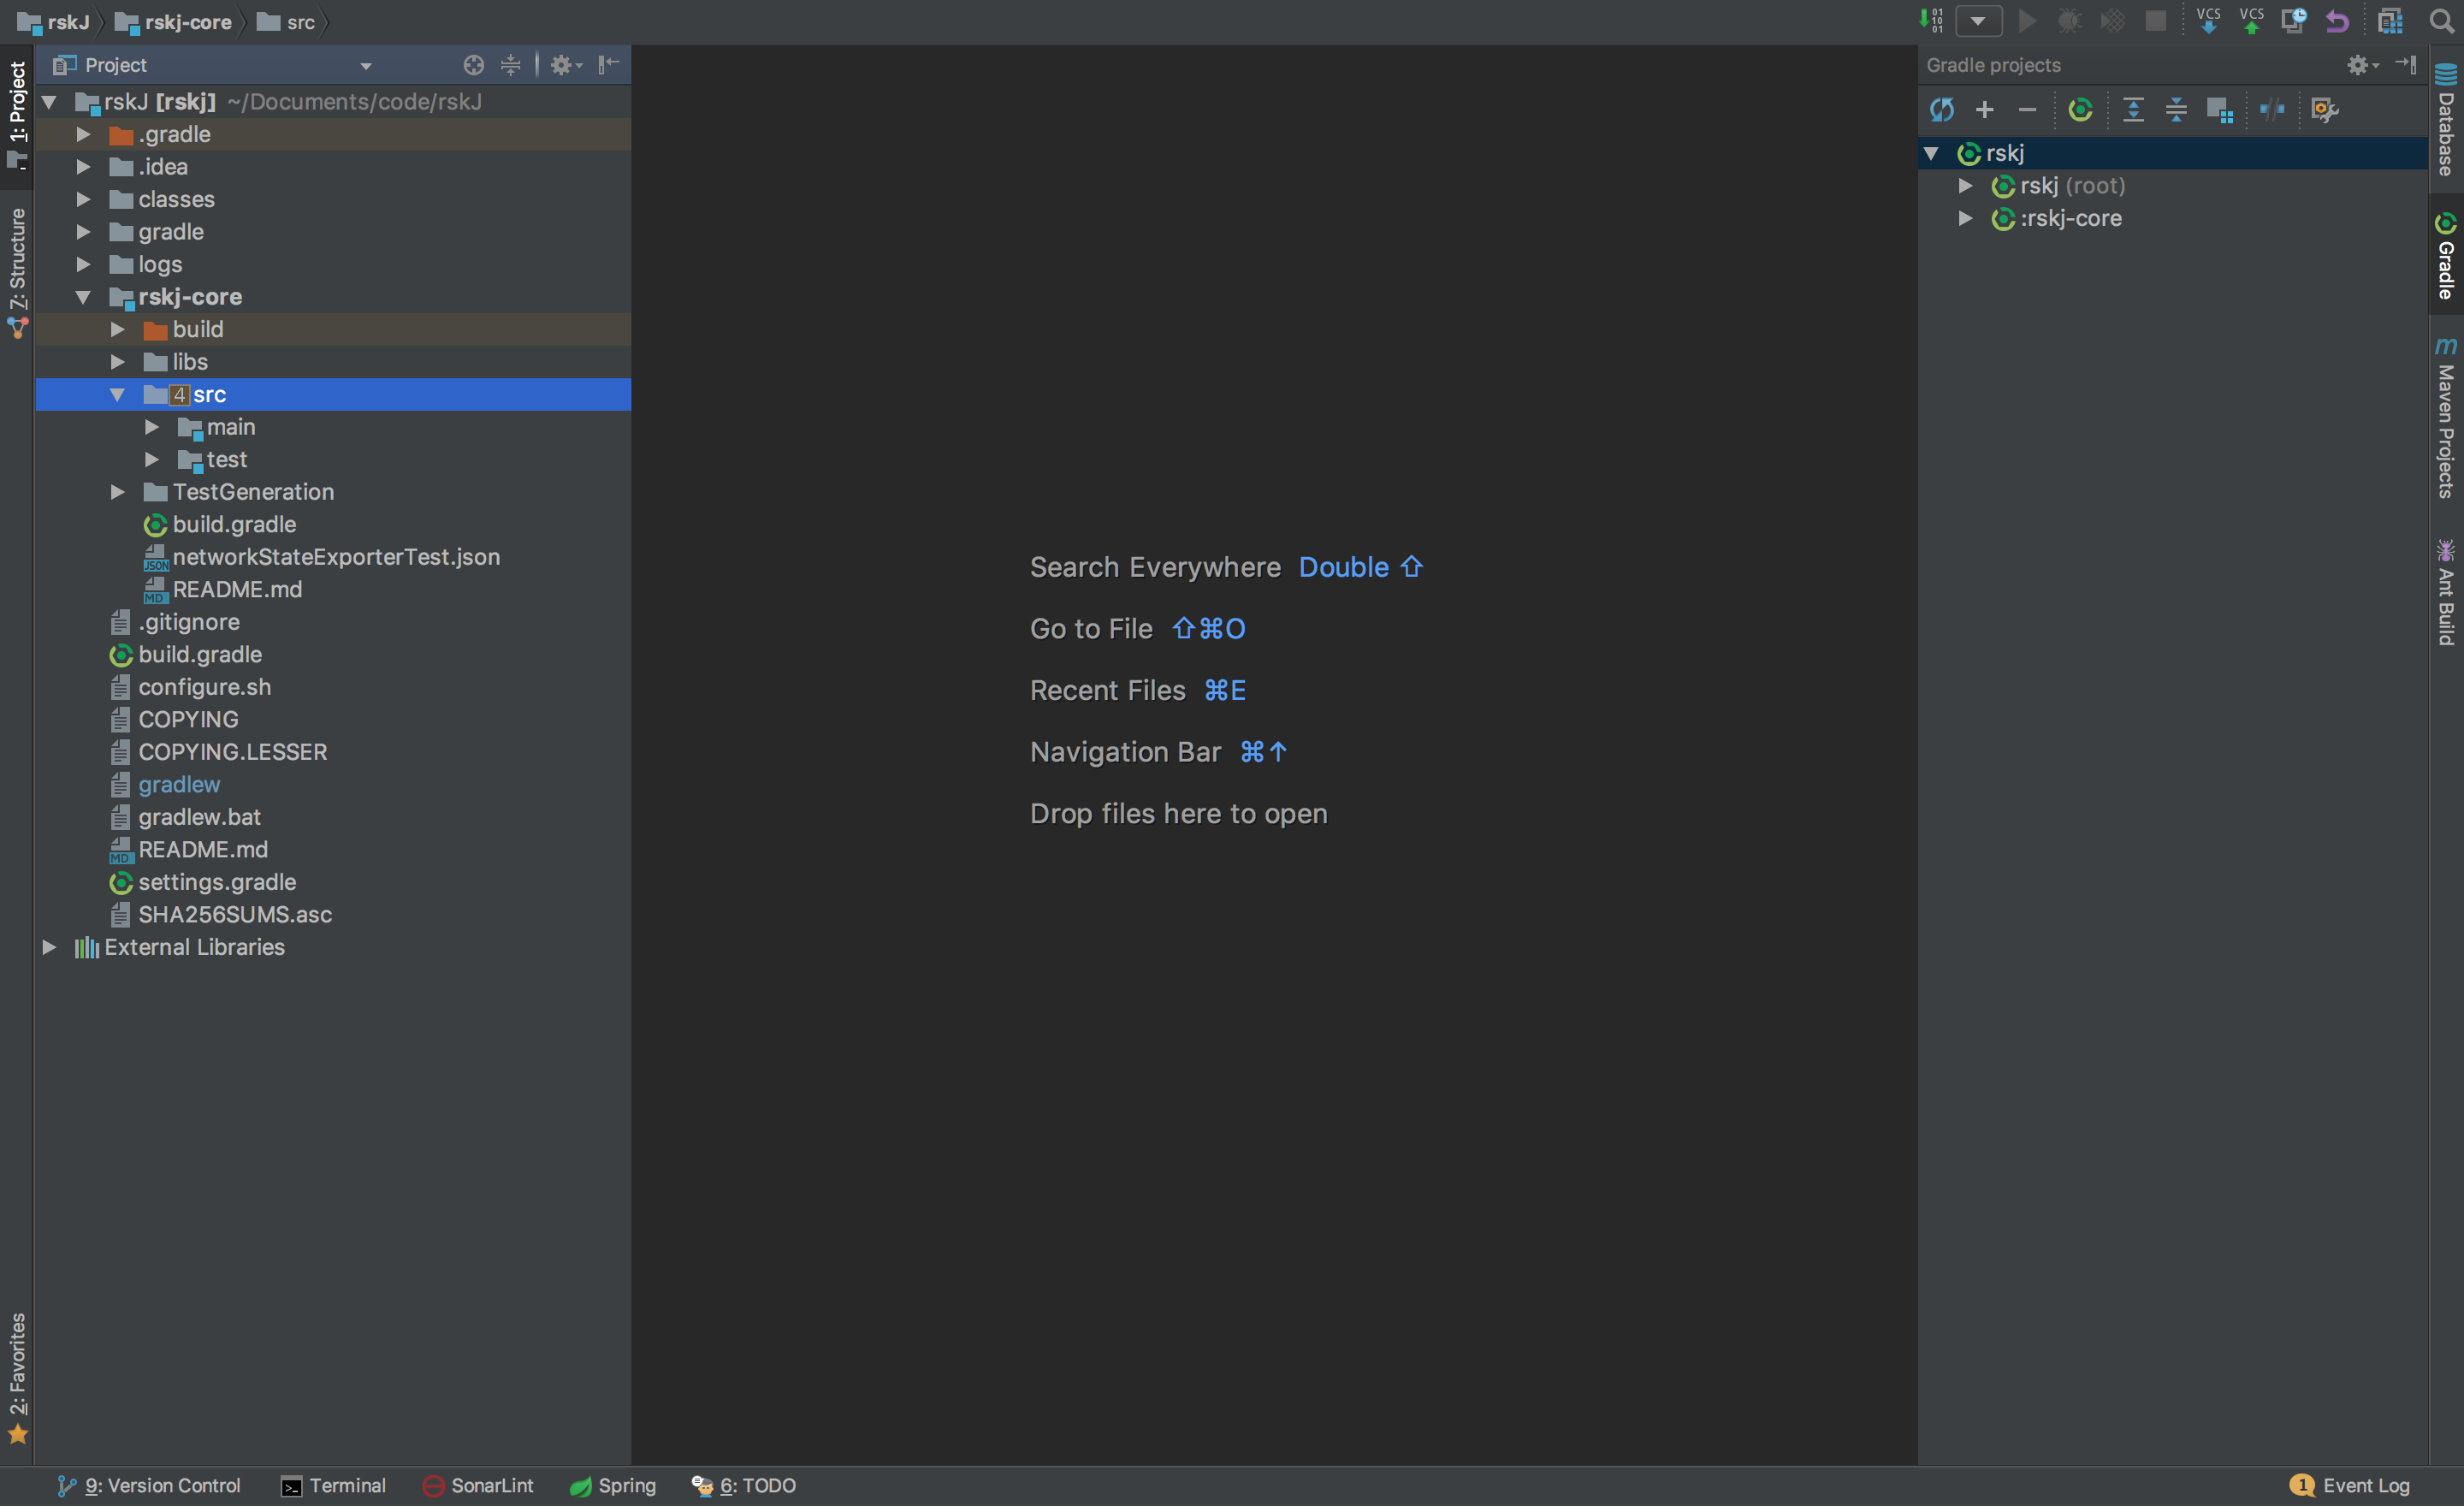
After opening IDEA we need to load the RskJ project, this can be done by using the Import project option in IDEA.
To do that follow the next steps:
- Go to File -> New -> Project from Existing Sources…
- Browse in the RskJ downloaded code the file
rskj\build.gradleand select it. - Within the dialog select Use default gradle wrapper and then press Finish.
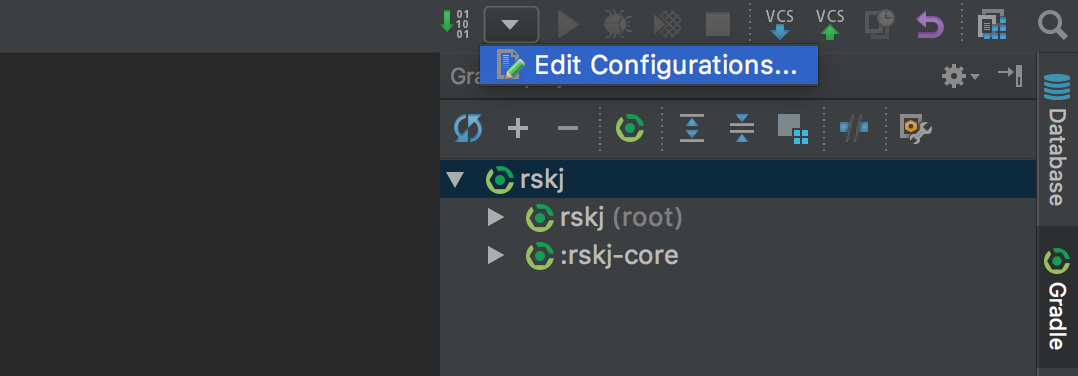
IDEA Build/Run configuration
We need to create a new configuration profile to run the node from IDEA. That can be done by clicking on Run -> Edit Configurations or as shown in the following picture:
Then set the options as shown below:
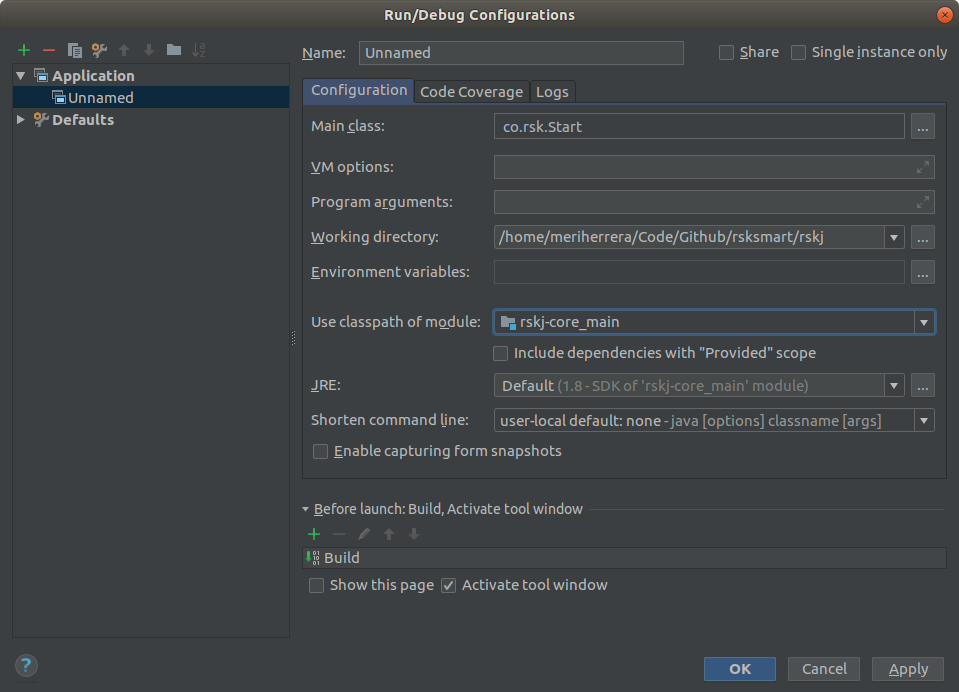
- Main Class:
co.rsk.Start - Working directory:
/path/to/code/rskJ - Use classpath of module:
rskj-core_main - JRE need to be set as:
Default (1.8 - SDK of 'rsk-core_main' module)
Note:
- If it isn’t configured the default JDK, you have to set it in: File -> Project Structure.
- If the IDE doesn’t recognize the configuration options, open
rskj/rskj-core/build.gradleand sync it fromGradletab.
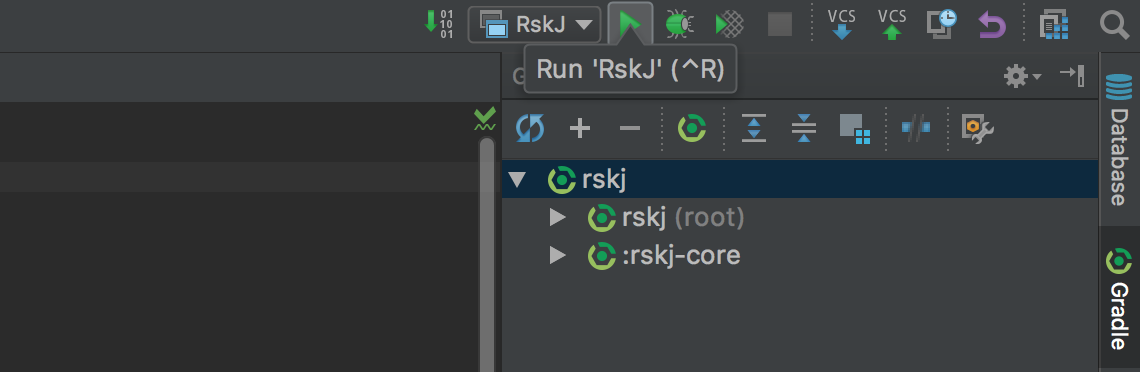
Running the node
We are ready to run the node using IDEA, just press the Start button at the right of the configuration we’ve just created.
If everything is OK, you should see the debug information like that:
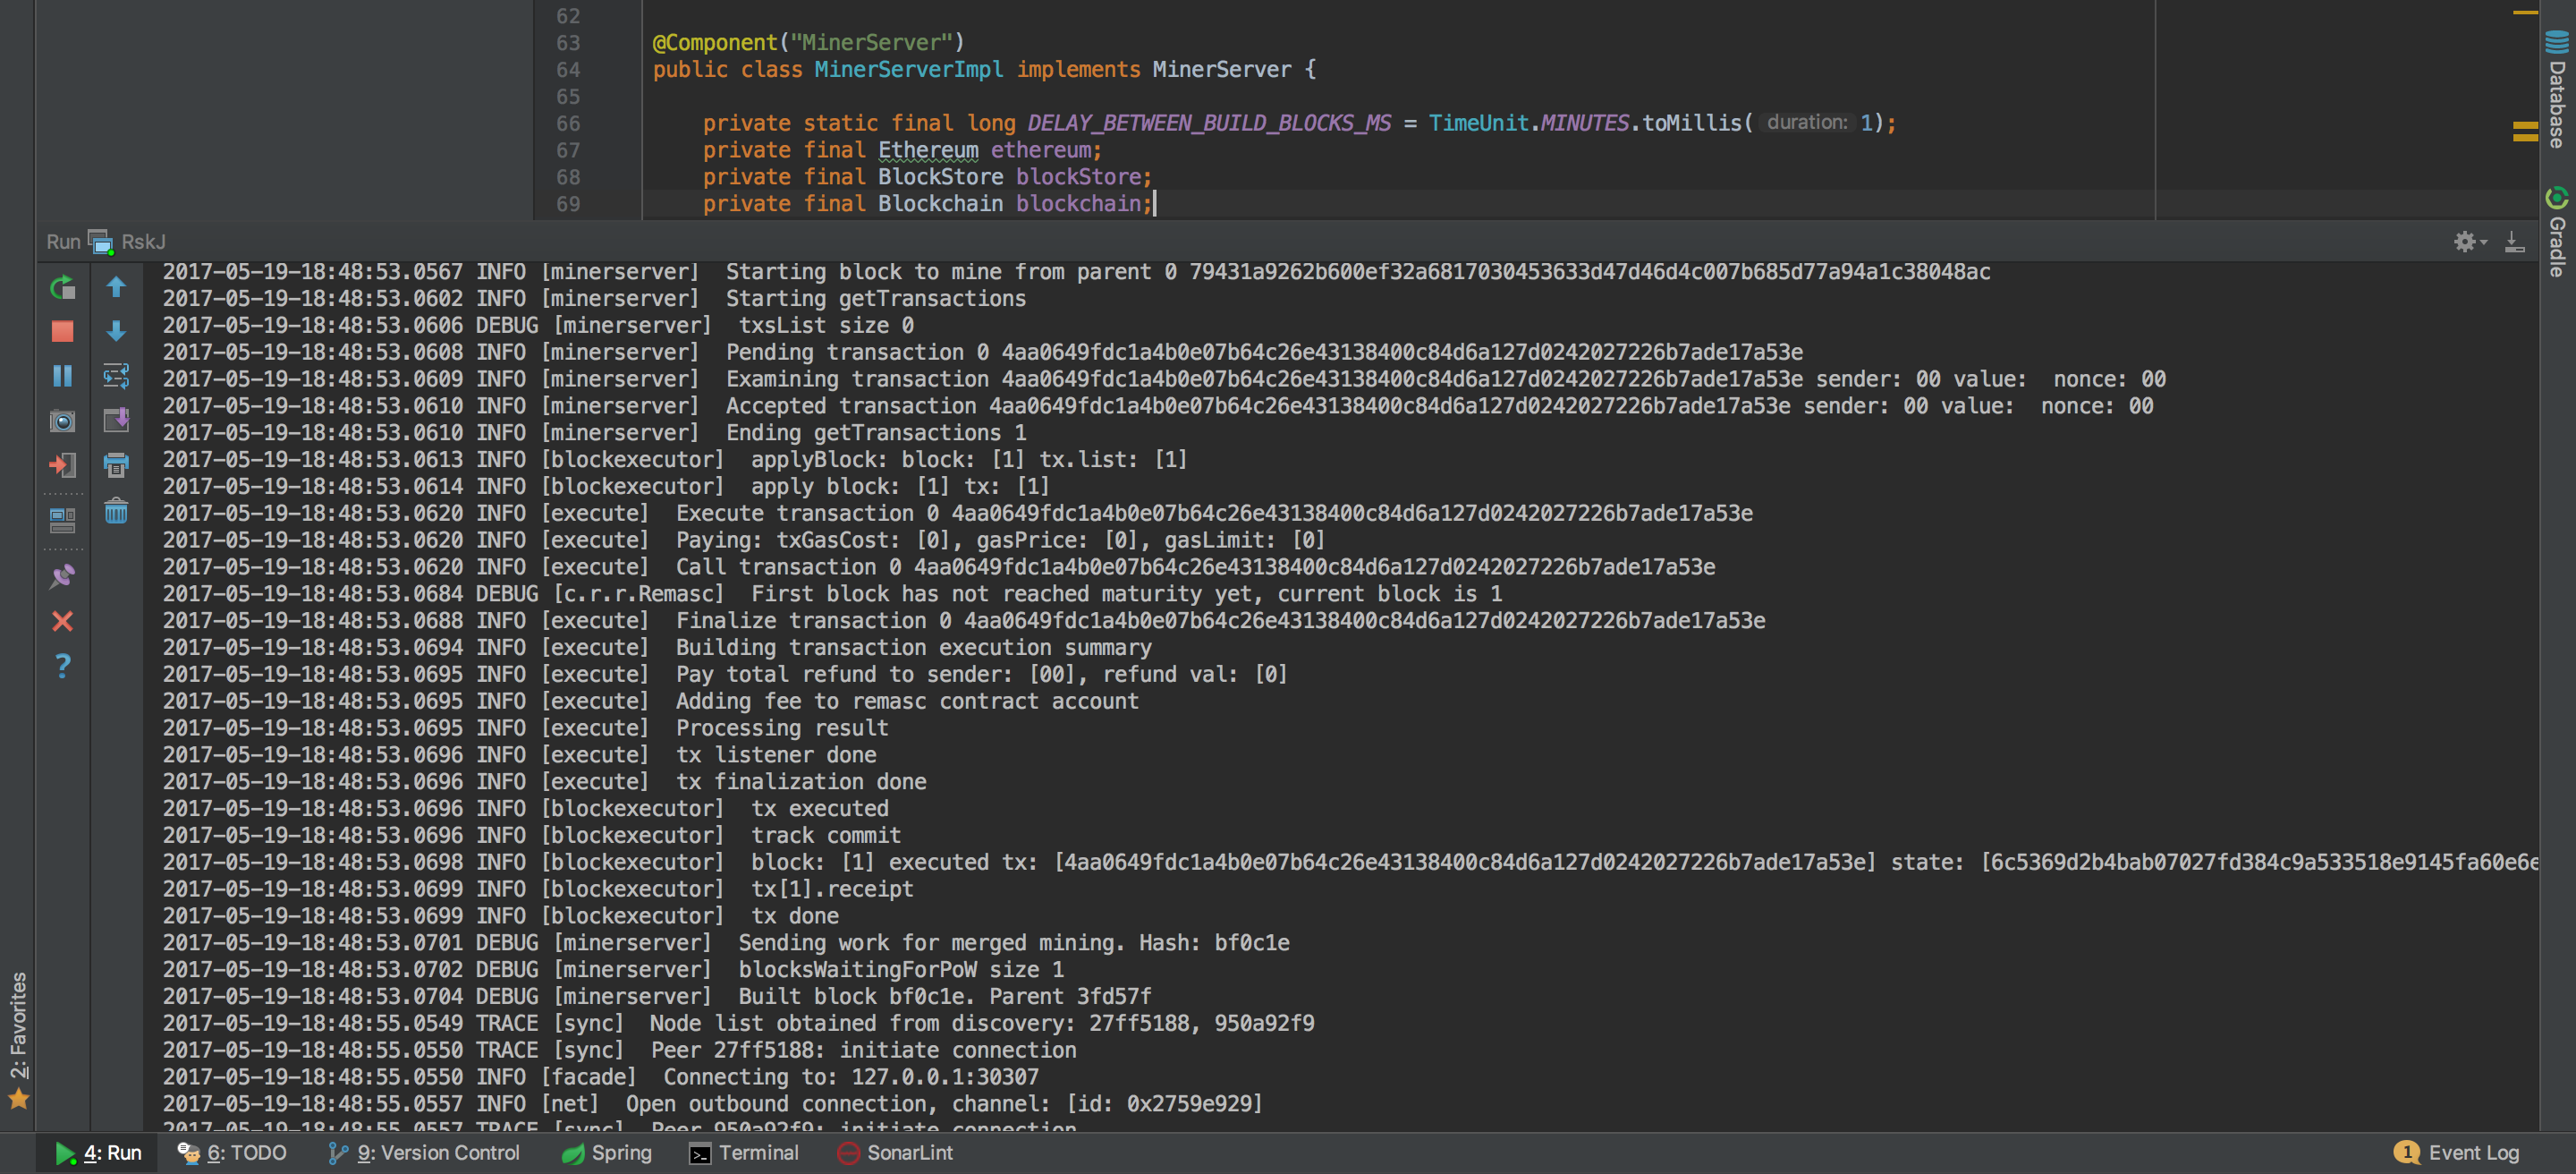
And yes! Congratulations! Now you’re running a local RSK node :)
You’re joined to Mainnet by default.
If you want to switch the network, add:
- For Testnet:
--testnet - For Regtest:
--regtest
Inside the field Program Arguments in your run configuration.
Any problems?
We hope our troubleshooting section can help you!